Administration - How to Retrieve Gespage Log Files
This article guides you on how to locate and collect the different log files from your Gespage installation. These files are essential for a thorough technical analysis by our support team.
There are two methods for retrieving logs, depending on your Gespage version.
Method 1: Via the Admin Interface (Recommended for v9.2.1 and later)
This is the simplest and most reliable method, as it automatically collects all necessary logs for the selected period.
Follow the steps below:
Log in to your Gespage administration interface at:
https://<server_ip>:7181/admin.In the menu, navigate to the Support tab, then click on Download logs.
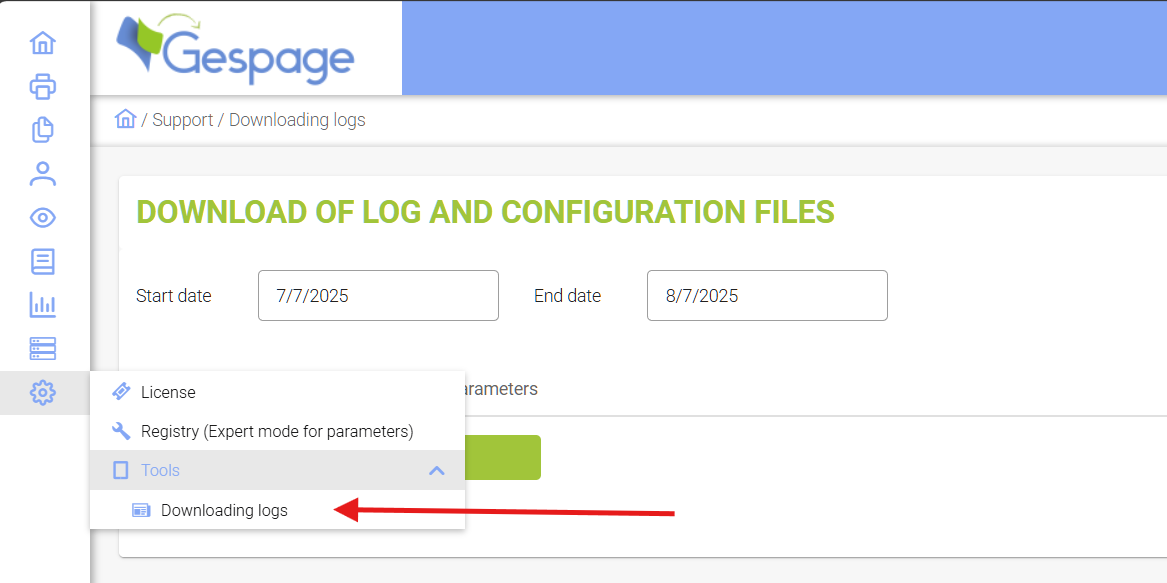
Carefully select the date range that covers when the incident occurred.

Click the button to start the download.
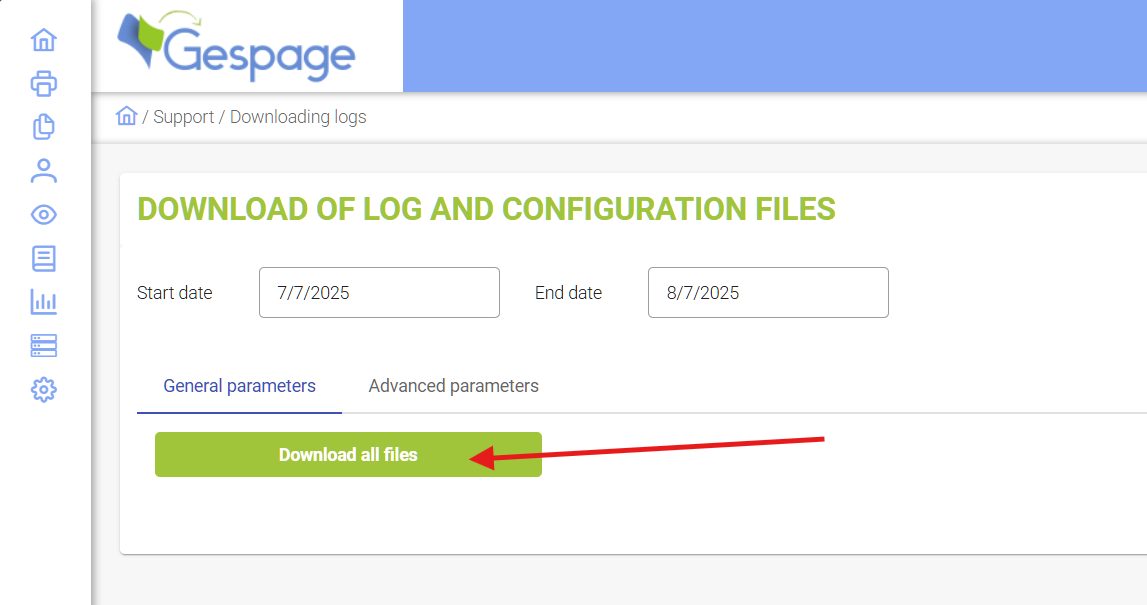
The generated .zip file contains all logs from all modules for the selected period. This is the single file you should provide to the support team.
Method 2: Manually from the Server (For versions prior to 9.2.1)
For older versions, logs from all relevant modules must be retrieved manually from the server's directories.
Which logs to retrieve manually?
For a complete analysis, it is crucial to collect the logs from all relevant modules corresponding to the date of the incident.
1. Server Logs (Gespage Server)
V8 Standard:
\<Installation directory>\Gespage\GespageCore\server\logsV8 Standalone:
\<Installation directory>\Gespage\GespageCore\server\payara4\domains\domain1\logs\V9.0.0 to 9.2.1:
\<Installation directory>\Gespage\GespageCore\server\payara5\domains\domain1\logs\
2. Agent Logs (Gespage Agent) Note: These logs are located on the print server involved in the incident.
Location:
\<Installation directory>\Gespage\GespageCore\logs\
3. Mobile Logs (Gespage Mobile)
Location:
\<Installation directory>\Gespage\GespageCore\Geps\logs\
How to prepare the logs for submission
Create a new temporary folder on your Desktop (e.g., "Gespage Logs").
For each of the locations listed above, navigate to the directory.
Copy all files and folders whose 'Date Modified' timestamp matches the period of the incident.
Paste these files into your temporary folder.
Once all relevant files have been collected, compress the temporary folder into a single
.zipfile.
This is the .zip file you will need to send to the support team.
Was this article helpful?
That’s Great!
Thank you for your feedback
Sorry! We couldn't be helpful
Thank you for your feedback
Feedback sent
We appreciate your effort and will try to fix the article